Sewing Fundamentals
How to Take Proper Body Measurements
12 July 2026 · 5 min read · By ONSA
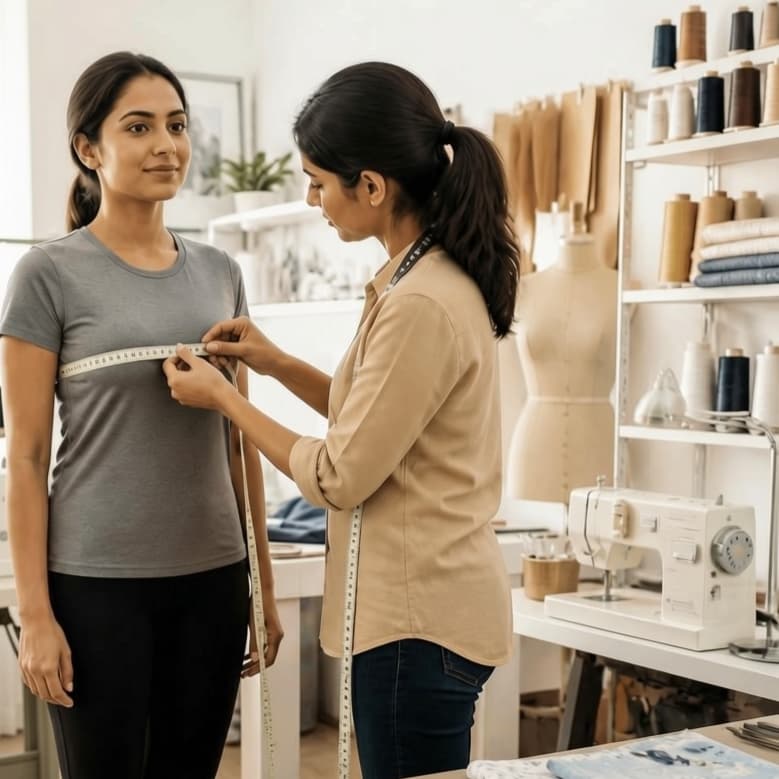
Every well-fitting garment begins with accurate body measurements. This isn't just about numbers — it's about understanding your body's unique proportions so your designs fit beautifully.
At ONSA, we've seen countless students transform their sewing by mastering this one skill. Whether you're creating custom clothing, drafting patterns, or making adjustments, knowing how to measure correctly is the foundation of professional tailoring.
Before You Start: Gather These Basic Tools
Getting the right tools makes a huge difference:
- •Measuring Tape: Soft and flexible — 60 inches long, marked with both inches and centimeters
- •Notebook or Measurement Sheet: To record every measurement neatly
- •Pencil or Pen: For immediate note-taking
- •Elastic Tape or Ribbon: To tie around the natural waistline for easy marking
- •Mirror: To check placement while measuring yourself
- •Assistant (Optional but helpful): For back measurements when measuring yourself
General Tips Before Measuring
These habits ensure accuracy every time:
- ✓Stand straight but relaxed — don't hold your breath or tighten your body
- ✓Keep the tape snug, not tight — it should sit smoothly against skin but not press in
- ✓Always measure in inches or centimeters — stick to one system throughout
- ✓Note measurements immediately — don't rely on memory
- ✓Wear fitted clothing — avoid baggy clothes that hide your true measurements
The Essential Measurements Explained
Chest / Bust
Wrap the tape around the fullest part of your chest and bust. Keep the tape straight across the back. One-finger gap rule: the tape should sit snugly but allow one finger to fit underneath for comfort and proper fit.
Waist
Tie a thin cord or elastic tape loosely around your natural waistline (slightly above the belly button). Measure around this line — this is your true waist, not your hip measurement.
Pro tip: Many beginners measure at the hip instead of the true waist. This is the single biggest mistake we see in our students.
Hip
Stand with feet together. Measure around the fullest part of your hips — usually 7–9 inches below the natural waist. This is crucial for pants and skirts.
Shoulder Width
Measure from the edge of one shoulder bone to the edge of the other across the back. This determines how tops and dresses will sit on your shoulders.
Sleeve Length
Place the measuring tape at the shoulder bone and measure down to the desired sleeve end (short, elbow, 3/4, or full). You can measure for different sleeve lengths — short, elbow, 3/4, or full — depending on the garment type.
Full Body Length (Frock, Gown, Kurti, Etc.)
From the shoulder (near the neckline) down to the desired length — waist, knee, ankle, or floor. For kurtis, sarees, and gowns, this is essential.
Pants / Skirt Length
From waist down to ankle or your desired point. This measurement changes based on personal style — some prefer hem at ankle, others at the ball of the foot.
Common Measurement Mistakes to Avoid
- ✗Measuring too tight or too loose — the tape should be snug, not restrictive
- ✗Forgetting to note down immediately — your mind will forget in minutes
- ✗Not measuring at correct points — use natural landmarks: bones, fullest points
- ✗Taking measurements over thick clothing — wear fitted clothes only
- ✗Using an old or stretched measuring tape — always use a flexible, accurate one
Recording and Storing Your Measurements
A measurement book is your designer's memory bank. Here's how to organize it:
- Label each measurement clearly — write "bust" not just a number
- Include the date — body shape changes over time; tracking dates matters
- Note personal preferences — tight fit, loose fit, or standard fitting
- Keep separate records — different family members have different measurements
- Use measurement charts or digital apps — they keep your data organized and searchable
Final Tips for Perfect Fit
- ★Always recheck before cutting fabric — a 2-minute verification saves hours of rework
- ★Keep a test garment (muslin sample) to verify your measurements work before cutting your final fabric
- ★Note your personal fit preferences (tight, loose, or standard) for each garment type
- ★Measure twice — better to spend 2 minutes measuring again than spoil fabric
"Measurement is not just numbers; it's the magic behind a perfect fit."
Accurate body measurement is the foundation of professional tailoring. Once you master this, every dress you make will fit beautifully.
Ready to Sew Garments That Fit Perfectly?
Our sewing courses teach you not just how to measure, but how to interpret measurements and draft patterns that fit your unique body.
ONSA — Online Sewing Academy has trained 3,000+ students across India and 12+ countries through structured online courses in tailoring and fashion design.